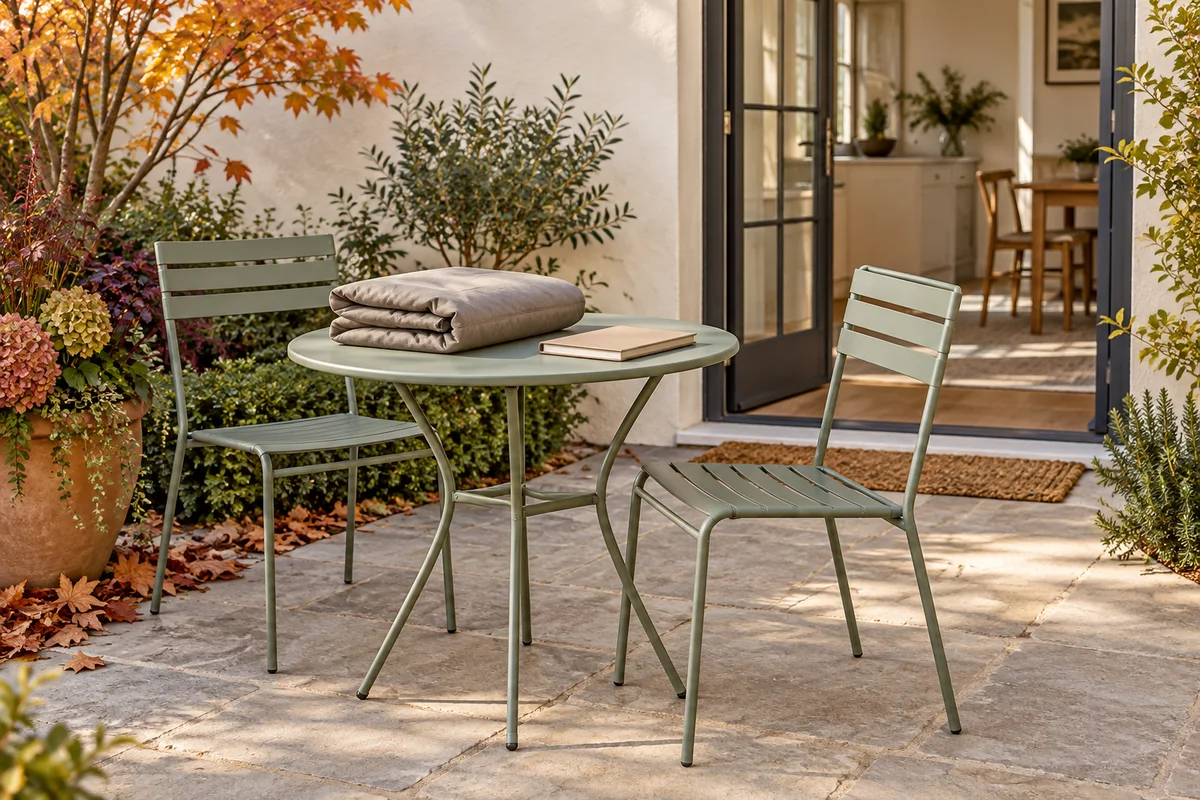
A more private patio doesn’t have to mean permanent posts, drilled walls or a big renovation. Start by identifying the sightline you want to block, then choose a removable solution suited to your space.
Quick answer: For many ground-level patios, rearranging furniture, grouping container plants or using a manufacturer-rated freestanding screen are sensible first options. Balconies require extra caution because of wind, weight limits and building rules.
Before you buy anything
- Stand where you actually sit and identify the view you want to block.
- Measure the width of that sightline, not necessarily the entire patio.
- Check your lease, HOA or building restrictions.
- Note wind exposure, drainage, sunlight and where items can be stored.
Try our free Patio & Balcony Layout Planner to sketch the floor, screening, and furniture before rearranging your space.
1. Rearrange the seating first
Moving a chair or bench closer to an existing wall, planter or sheltered corner can change what neighbors can see. Test the arrangement before spending money. On a small patio, even rotating a seating area can help.
2. Group movable planters
Planters can soften a boundary and provide partial screening. Choose plants based on local climate, sun exposure and mature size rather than relying on photos of newly planted specimens. Remember that wet soil and large containers can be heavy; check balcony load restrictions before placing them.

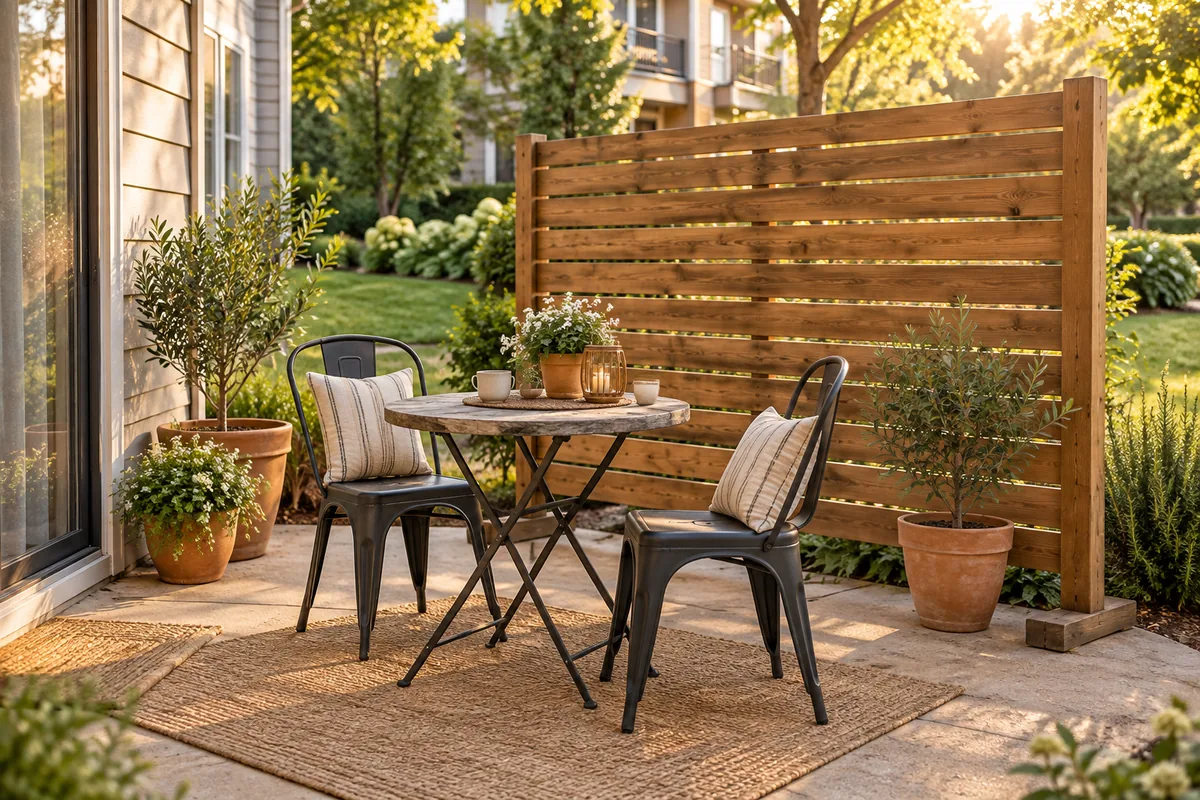
3. Try a freestanding outdoor privacy screen
Look for an outdoor-rated product with clear installation and stabilization instructions. A screen that looks sturdy indoors may behave very differently in wind. Don’t improvise attachments to railings or shared structures. Folding models may be easier to store during storms.
4. Create a small privacy zone
Rather than screening a long boundary, consider protecting just the dining or reading spot. A short screen beside a chair may block a direct sightline while preserving airflow and usable floor space.
5. Use outdoor fabric only with a suitable support
Fabric can be flexible and inexpensive, but it catches wind. Use only systems designed and approved for outdoor conditions, and follow their anchoring and weather limits. Avoid attaching fabric to balcony railings without written permission.
Compare the options
| Idea | Best for | Watch out for |
|---|---|---|
| Furniture layout | Zero-cost first attempt | May only block one angle |
| Container plants | Soft, natural screening | Weight, watering, growth time |
| Freestanding screen | More immediate coverage | Wind and stabilization |
| Targeted short screen | Small patios | Limited viewing angles |
| Outdoor fabric system | Flexible seasonal use | Wind loading and approvals |
What about balconies?
Balconies are not simply smaller patios. Elevated wind exposure and structural load limits make seemingly simple solutions risky. Check property rules and manufacturer guidance, and seek building management or qualified professional advice where needed. Never assume a railing can support a privacy screen or sail.
How to choose
Start with the smallest reversible change that addresses your actual privacy problem. If that fails, compare purpose-built products for your space and climate. A removable idea is only renter-friendly when it also complies with your lease and can be used safely.
Find your starting point
Open the Patio & Balcony Layout Planner and enter your rectangular floor width and depth in feet. Add a roof if present, then choose walls, railings, and screens on sides A–D. A side can include a partial wall with screening or railing in the remaining section.
For separate screening pieces, enter their width and the gaps between them. Gaps can be even or follow a custom sequence. The selected screen span includes the open gaps; it is not all covered material. Optional panel counts round up separately on each side, without assuming that offcuts can be reused around a corner. Cost estimates use only the prices you enter.
Add example furniture and potted plants, then drag them into place. You can rotate furniture, lock or remove objects, add movable door/window markers on walls, and rotate the view through four perspectives. Save the worksheet or print the drawing and layout details.
Treat the result as a visual sketch. The tool allows overlapping objects and does not check walking clearance, door swings, structural loads, wind resistance, or mounting. Its standard furniture and plant sizes are illustrative; measure your actual items before buying or installing anything.
Editorial note: This guide provides general information, not structural engineering, building-code or legal advice. Product prices and performance vary; no product has been independently tested for this article.