The most useful under-sink organizer is the one you can remove quickly. Plumbing, shutoff valves, and the underside of the basin make this cabinet different from an ordinary shelf. Start by mapping those obstacles, then decide what actually belongs here.
Check the cabinet before organizing
Empty the cabinet and look for damp patches, swelling, discoloration, or an active drip. Do not cover a suspected leak with a liner or a bin. In a rental, report the problem to your property manager; persistent moisture needs attention before a storage makeover.
Identify the water shutoff valves without turning or forcing them. You should be able to reach them without dismantling your organizer. Leave room to see pipe joints and remove stored items for maintenance. If you are unsure what a fitting does, ask a qualified plumber or building manager rather than experimenting.
Draw the obstacles on paper
Measure inside width, depth, and height in several places. Sketch the drain trap, water lines, disposal if present, and the door hinges. A cabinet may have plenty of height on one side and very little beneath the basin.
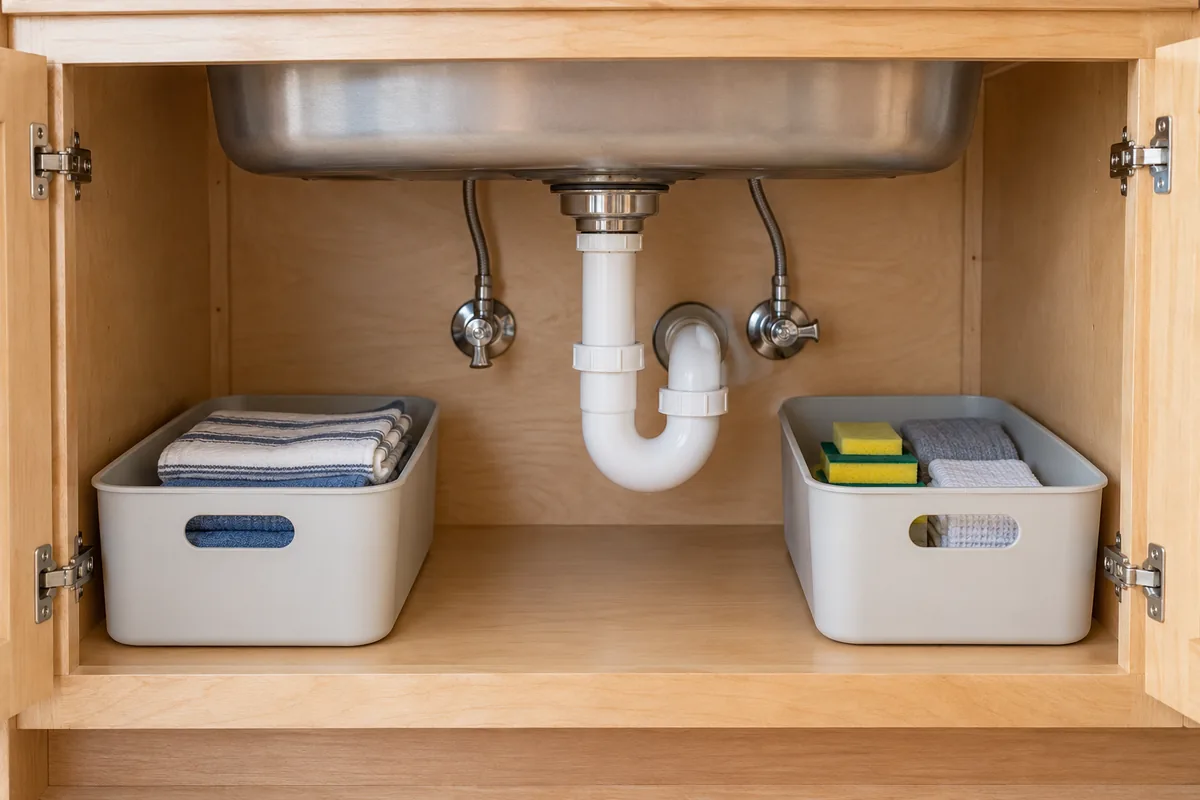
Make paper footprints for candidate bins. Place them on the cabinet floor and check whether the door can close. Then simulate taking each bin out. A bin that technically fits but catches on a pipe is not a good fit for routine use.
Keep everyday items in lift-out zones
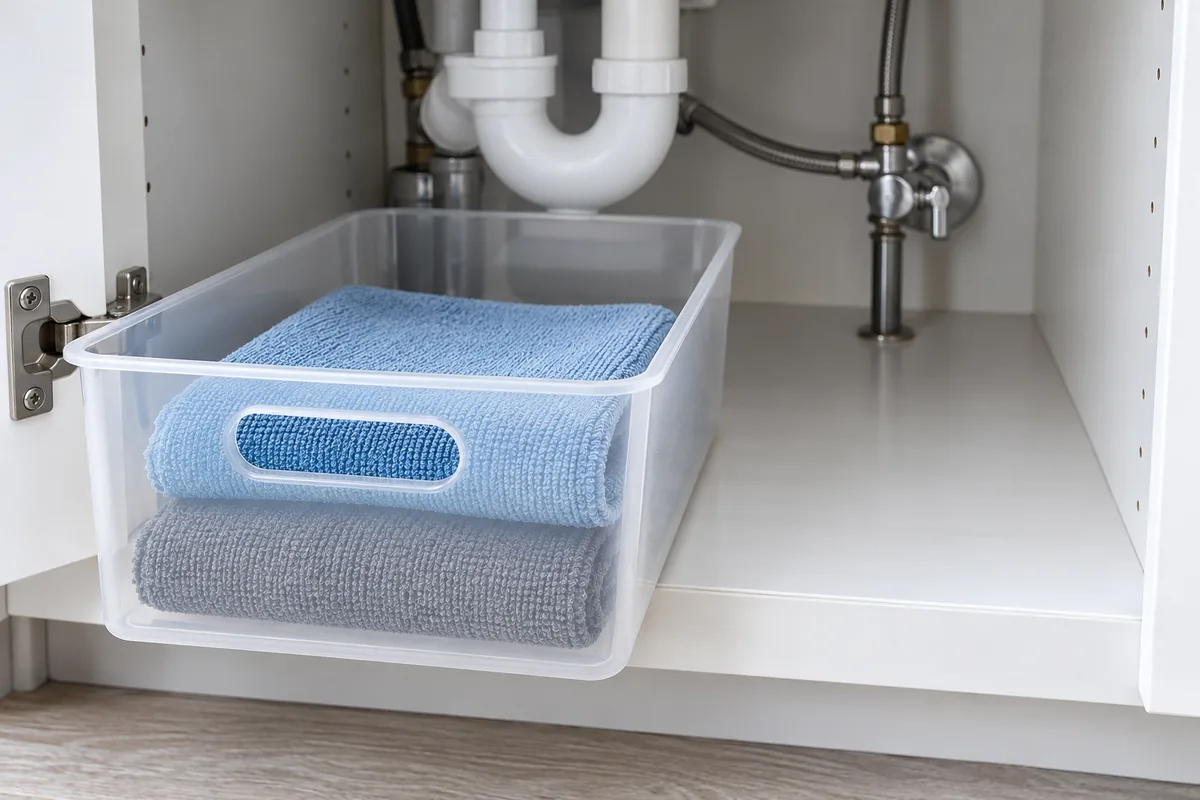
A small handled bin for the supplies used together can be easier to manage than a complicated sliding mechanism. Keep taller bottles on the side with sufficient clearance and reserve the area directly under plumbing for smaller, easy-to-remove items.
Do not rest shelves on pipes, attach organizers to plumbing, or modify lines to create room. An adjustable shelf must stand independently and meet the maker’s installation requirements. Follow any cabinet-door organizer’s load and attachment instructions as well.
Store cleaning products deliberately
Keep cleaning products in their original labeled containers and follow the labels for storage. Do not pour leftovers into drink bottles or combine chemicals to save space. If children or pets can reach the cabinet, choose an appropriate secure storage location and safeguards instead of treating an open bin as a safety solution.
Remove anything that does not need to live here. A bulk supply of sponges might fit better in a dry utility area. Fewer containers around plumbing can make inspection and maintenance easier. Storage is not a substitute for child-resistant access or product-specific precautions.
Make moisture visible
Choose removable, cleanable containers and leave a way to inspect the cabinet floor. A suitable removable mat may help collect ordinary drips, but it must not conceal a problem. Check underneath it during routine cleaning and after noticing any unusual smell or dampness.
EPA guidance emphasizes fixing the source of moisture, rather than simply hiding wet materials. If you find recurring water damage or visible mold, follow the agency’s guidance and contact the appropriate property professional; this article is a storage plan, not a remediation procedure.
Use a quick final check
Open the door and answer three questions: can you see the plumbing, reach the shutoffs, and lift out the daily supplies? If not, remove a tier or reduce the number of containers. Leave the cabinet easy to service.
Continue with small kitchen drawer organization or our window condensation checklist if moisture is the main issue. Solve the cause before adding more storage.
Sources and further reading
- EPA: A brief guide to mold, moisture, and your home
Fix moisture sources rather than hiding dampness or recurring damage.
- EPA: Household Hazardous Waste — safe handling and storage
Keep hazardous products in their original labeled containers and do not mix leftovers.
The notes above identify which guidance each source supports. Layouts and planning examples are editorial suggestions, not tested product claims.