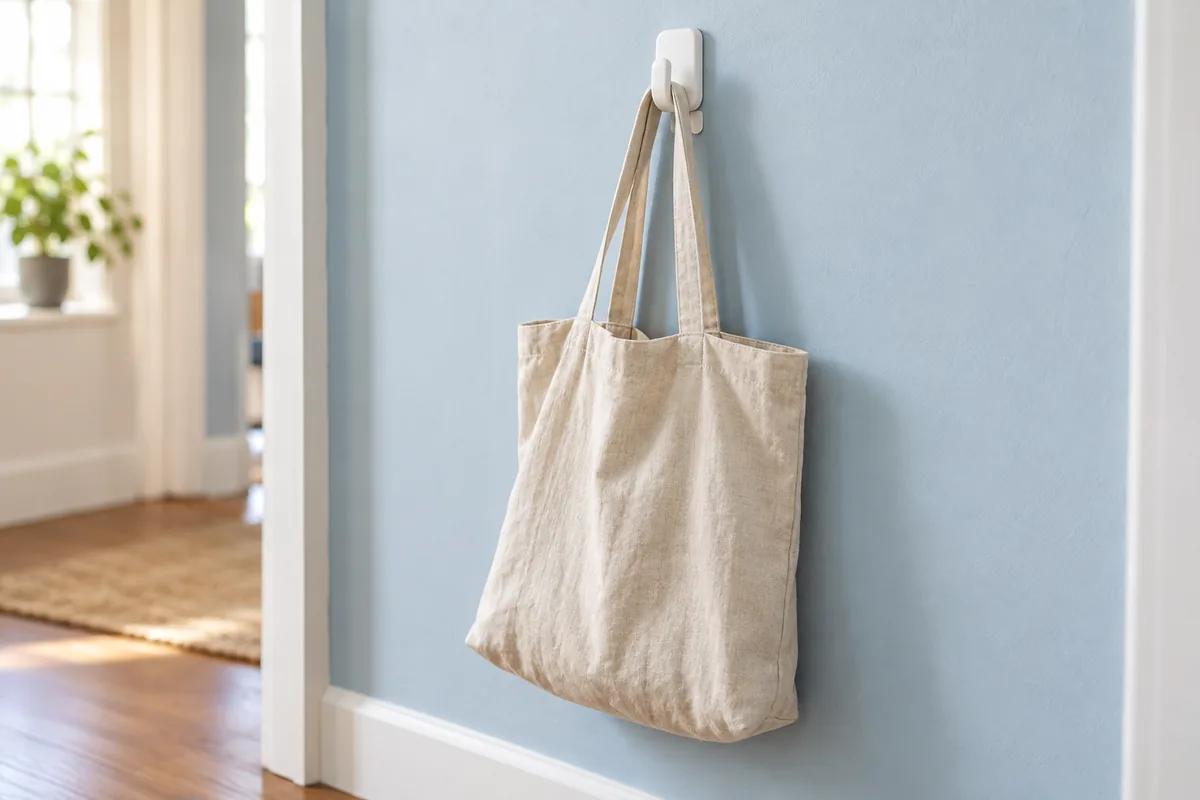
A removable hook is a product with specific instructions, not a universal alternative to drilling. Its suitability depends on the surface, the item, and how it is installed and removed. Start with those checks before planning a wall display.
Confirm that the change is allowed
Read your lease and ask management about adhesive products if the rules are unclear. A product described as removable does not override a rental restriction. Keep the permission alongside the product instructions if the installation requires approval. For a specific request and a record of any conditions, use our rental update permission template.
Think about the consequence of a failure. A lightweight cloth bag is a different project from a glass object above a bed. Avoid hanging anything where a fall could cause injury. Do not use adhesive hooks for furniture anchoring, safety restraints, or other structural purposes.
Identify the surface
Check whether the finish is paint, wallpaper, tile, wood, or something else, then confirm that the exact product supports that surface. Textured, damaged, or poorly bonded finishes need particular caution. A successful result on another wall does not prove this wall is suitable.
Read restrictions for freshly painted surfaces on the current package. Do not apply a single waiting period to all products or finishes. If you cannot identify the paint condition or the product prohibits the surface, choose another location or a freestanding solution.
Weigh the actual item
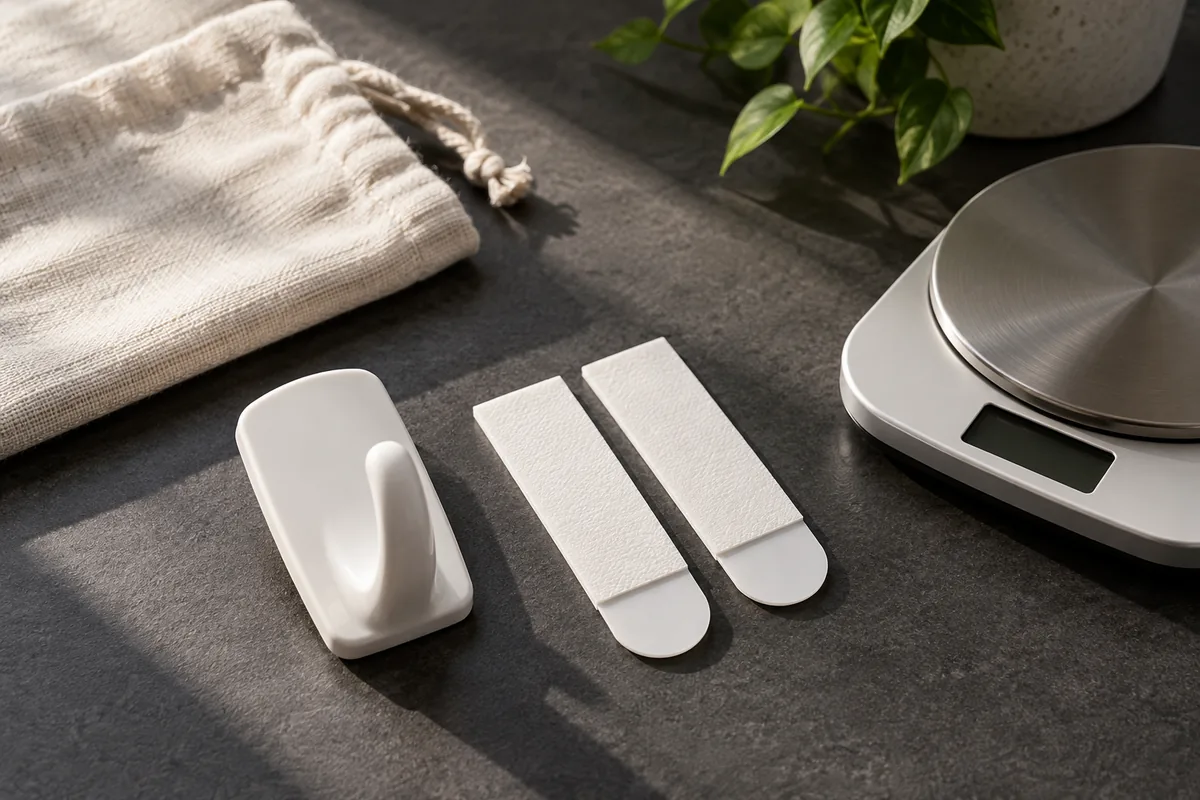
Weigh the item with everything it normally carries. A bag’s empty weight is not its loaded weight. Check the product’s weight rating and any limits on object size, geometry, temperature, and indoor or outdoor use.
Do not assume that two hooks automatically double capacity. Only distribute a load that way if the manufacturer explicitly describes and permits the configuration. Use a different system when the item’s weight or shape falls outside the instructions.
Follow the full installation sequence
Manufacturer guidance covers cleaning, application pressure, and waiting time before loading. Follow the instructions for your exact product rather than a short social-media tip. Command’s U.S. guidance, for example, specifies suitable surface preparation and product-dependent installation steps.
Keep the packaging or save the official instructions. Make sure any removal tab remains accessible after the object is hung. Covering that tab may make a later removal much harder.
Plan removal before installation
Command describes removal for its stretch-release strips as slowly stretching the tab downward along the wall, rather than pulling outward. This is brand-specific guidance: other adhesive systems may work differently. Follow the current instructions for the actual item you install.
Do not promise yourself damage-free removal. Even a permitted product can be affected by a weak finish, incorrect use, or unsuitable conditions. If a tab breaks, consult the maker’s official removal guidance instead of improvising tools against the wall.
Choose an alternative when the checks fail
A small tray for keys, a suitable floor-standing coat rack, or storage inside existing furniture may serve the same purpose without adhesive mounting. Check any furniture’s anti-tip requirements; a no-drill preference does not make required anchoring optional.
For a practical application, see our small entryway landing zone. For a room refresh that starts with layout and textiles, read reversible living room updates. Keep the change small enough to maintain and remove correctly.
Sources and further reading
- Command U.S.: Frequently asked questions and product instructions
Surface suitability, product weight limits, preparation, and downward stretch-release removal.
- CPSC: Get On Top of It Before They Do! — furniture anchoring guide (PDF)
Furniture anti-tip hardware; adhesive hooks are not presented as a substitute for a required anchor.
The notes above identify which guidance each source supports. Layouts and planning examples are editorial suggestions, not tested product claims.